Showing posts with label Tutorial-Flash. Show all posts

Saturday, June 18, 2011

Flash Walkthrough : Part 2

After a long hiatus, here it is!

Now, where in the world was I? 

AAAHHHHHHH!!!!


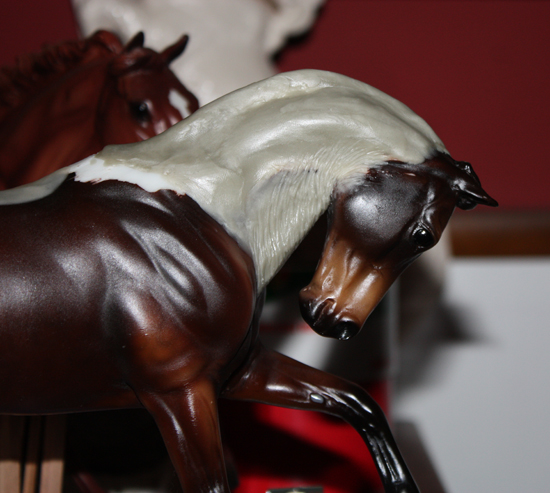
Oh right!  So now he's got a nice new wrinkly neck (wrinkle tutorial in the works BTW) so something had to be done about that face.  Specifically it needed to be removed.  Why?  Well, why not?  I seem to like making extra work for myself.  Anywho, I keep forgetting to take inbetween photos but after a few hours, his fase began to take shape.


Yes his eyes are bright yellow.  I've tried sculpting the whole eye section from scratch, but I always end up with wonky eye balls.  So I cheat.  Meet my traditional horse eye balls!  These 6mm plastic BB balls are the perfect size for this in my opinion.


Next I insterted a tail wire to build on.  If you need help with that, go check out Laura Skillern's blog Don't Eat The Paint.  She's got awesome, easy to follow tutorials for lots of things.


The tail itself keeps going through various stages of fugly.  I'm resisting the urge to rip it off and restart.  It's gotta get better eventually.  Maybe.


I also laid down an armature for the mane while working on the tail.  Since this is a flying mane I usually let the epoxy set for a good 45 minutes before applying it to the model and then I hit it with my heat gun to get it to set.  If I think of it I will put wire in the epoxy pieces too, but I don't usually get that far.  I know that there are people that use mesh wire or other materials to essentially build out the shape of the mane and tail before applying epoxy.  I prefer to make the whole thing out of epoxy for complete adjustability.  Mostly because I am constantly applying and sanding until I'm satisfied with the results.


And he's still not done!  So there will be (at least) another walkthrough on this guy.  I hope noone is tired of seeing him yet.  I know I am, but that's because he stares at me all the time with these sad, yellow eyes.  Where is a Blab smilie when I need one?

Saturday, March 26, 2011

Flash CM Walkthrough : Part 1

So here begins the series of posts that I've been rather excited for.  If this one goes over well I may do more walkthroughs or indepth postings on customs in the studio.  I'll need to learn to take more photos between steps then, haha. 


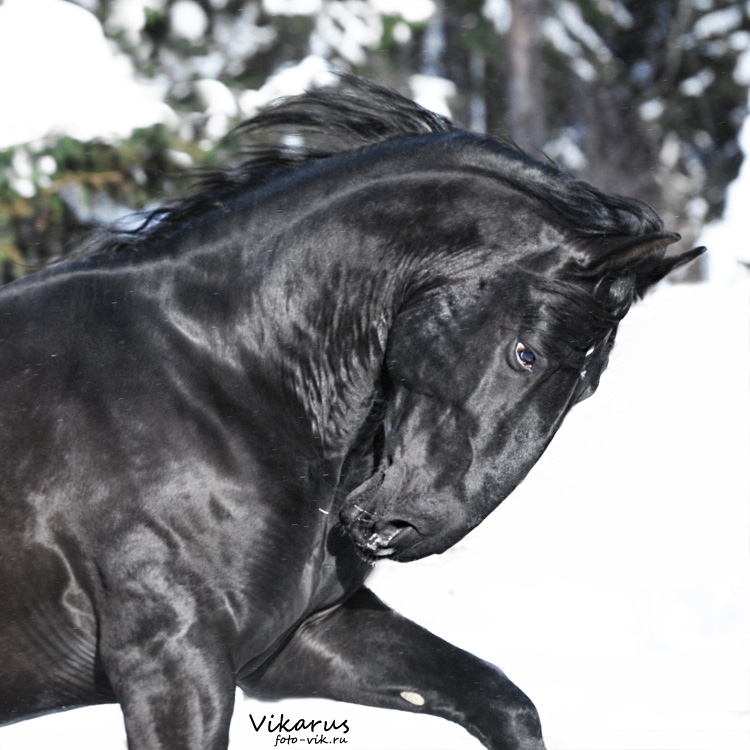
Right, so first thing you (should) do before attacking a poor, innocent model horse is come up with a plan.  Your plan could be anything from a drawing or sketch you've done to a photo you love.  Should the photo not be one you took yourself, be sure to get permission from the photgrapher before you go any further than planning.  The last thing you want is an unhappy artist coming after you.  I stumbled upon this photo on deviantART and knew I had to sculpt it. 

Beautiful Kladruber Stallion  <3


After obtaining permission from the artist, it's time to cut!  First I removed the mane and tail since they are going to be resculpted.  Flash's tail is thin enough that I just snapped it off, but the mane needed to be removed with a dremel. 


Baldy!


Sometimes I'll actually cut and reattach a limb, neck, etc. but usually I'm uber lazy and just heat the daylight out of whatever I want to move.  Yes, Flash has a totally broken neck at this point.  The point of the crest is too far back.  This is not a point you want to stop and start adding epoxy!

Ouch!


Next I had to get rid of that lump on the back of his neck and once again being lazy, I heated up the neck, took a pocket knife and cut it off.


Really badly.  Lol.  If you decide that the heat and cut method is good for you, be sure to cut away from yourself.
 
This is where I forgot that I was documenting this piece and just started going nuts.  It's also not that easy to take photos with epoxy on your hands.  Anywho, using my top photo as referance I first built up my topline and the underside of the neck.  Then I went on to rough in the muscles and detail the skin wrinkles a little while the epoxy stiffer (about 45 minutes after mixing). 


He still need more work on the neck and will be losing his face next.  XD  Part 2 should be up within the week.